“Necessity is the mother of invention.”
-Plato
Since my first adventures in night photography — cycling suburbia with a cutting-edge 2 megapixel brick — I have always been too cheap to buy a tripod.
And even when JonP gave me his old tripod, I barely ever brought it anywhere.
You see, I create most of my images when I’m either in the wilderness, or stumbling across unexpected things while traveling. And I’m just too lazy to carry a few extra grams on these wild or random adventures. This forced me to get very creative when shooting in low-light.
In fact, I’m probably better at finding ways to steady my camera than I am at photography. If I took photos even half as well as I MacGyver tripods, I’d be getting calls from National Geographic.
So what? Why do steadier cameras give better photos?
Regardless if you’re shooting on a camera-phone or a D3X, 1 these tips apply to all cameras, by making your images:
- Sharper, via reduced motion blur; and/or
- Less noisy, by allowing your camera to lower its ISO. 2
So even if you don’t own a tripod (to leave at home), today’s camera-steadying tips will improve everyone’s photography! And if you do have a tripod, this may help you ditch that 3-legged anchor.
Without further ado, you can steady better by:
1) Bracing against yourself
Breathe in and focus the camera (depress button halfway), then hold your breath while you click the shutter. Have your elbows braced against your torso to steady yourself, or lean into a wall; crouch down; or even lie on the ground (first checking for buffalo entrails)
2) Pressing against fixed objects
Press your camera’s side or bottom into a door frame, wall, railing, tree, etc. Try to find a nook in the object where the camera feels steady. Then, press that camera hard into the object while you shoot a few, have a look, and adjust for better composition. Try to combine this with the next tip.
3) Taking multiple exposures in a burst
Believe it or not, pressing that shutter release button shakes your camera. So use your burst mode3 and find the sharpest image after. You can also try using the 2 second timer, but I prefer just bursting. Usually for me the second shot is the sharpest.
4) Free-resting atop things
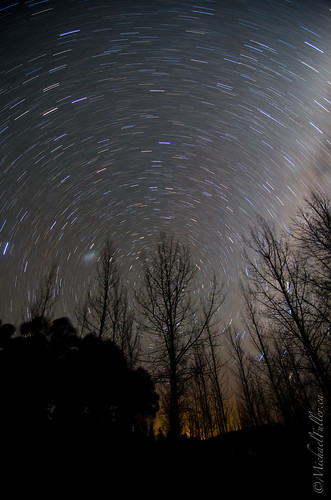
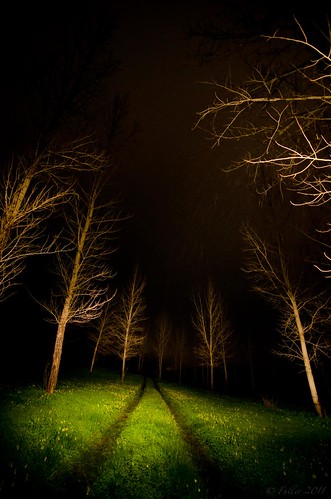
Night shots typically require long exposures (>2 seconds) — longer than the previous tips will enable. As do self portraits during the day.
So channel your inner engineer, and look around: Are there flat rocks? chairs? a branch? a pile of sand? If you’re walking away from the camera, this could be risky, so choose wisely. But no guts, no glory, right?
Once you’ve found your ‘trypod’, you can fine-tune the composition by placing something under your camera or lens. Like your lens cap or camera strap. Then snap away!
So there you have it. Four tips to steady your camera for better photos, as easy as: Bracing; Pressing against objects; Burst mode; and Creativity at finding trypods.
These are what work best for me. Others swear by beanbags, or string mono-pods (look it up) — but I find those all just too much of a faff.
Necessity may be the mother of invention. But for me, laziness was the grandmother.
-Mike
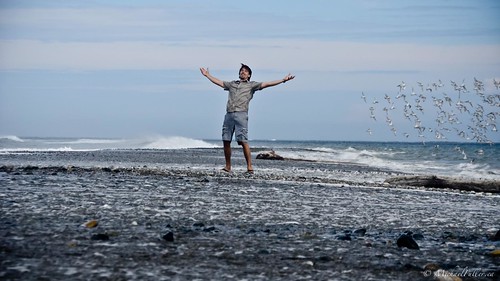
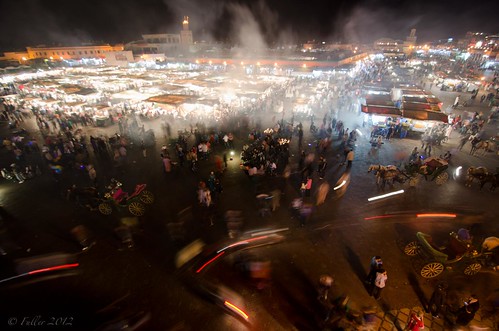
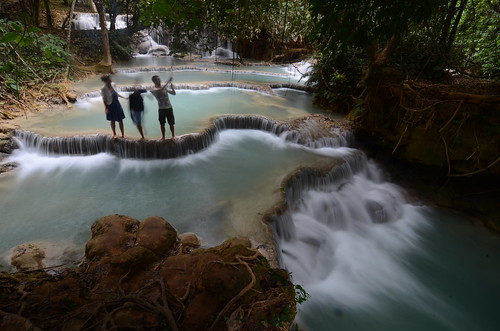
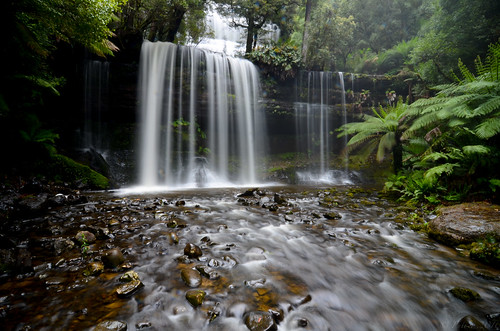
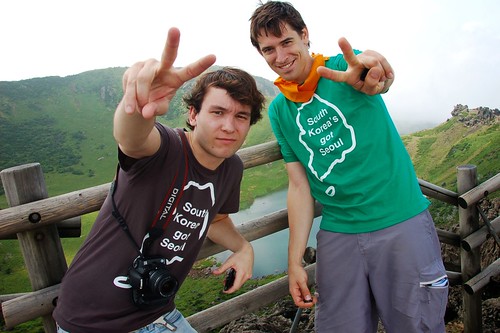
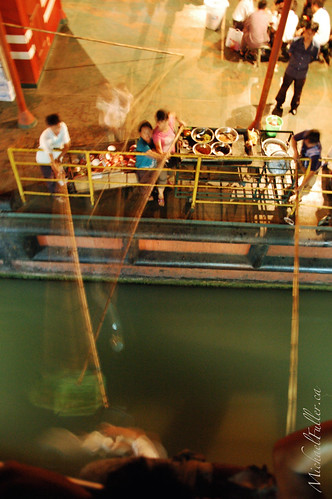
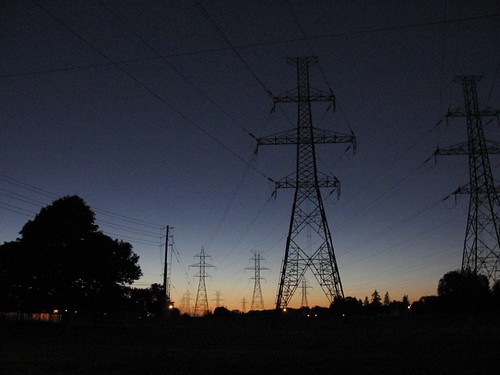
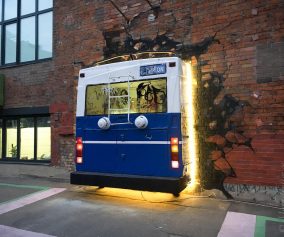
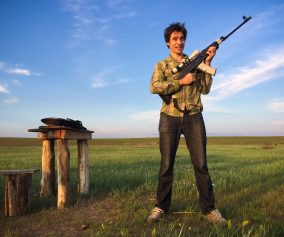
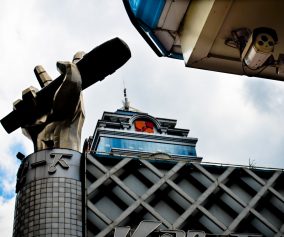
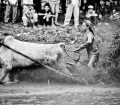
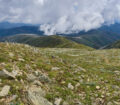
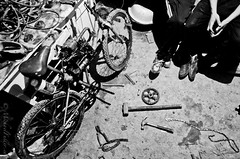
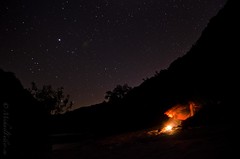
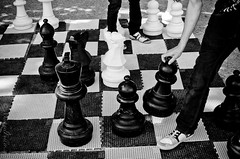
p.s. All the photos below were created without a tripod using the techniques presented above. If you want to know which technique on which photo, just ask in a comment.

